DESCRIPTION
To build my project, I individually researched OpenCV and Tensorflow with Python, as well as how to implement it onto the Raspberry Pi OS. Over 3 weeks, I built software onto my PC and the RPI, programmed and trained a custom Tensorflow model, and wrote Python code to launch a machine learning model.
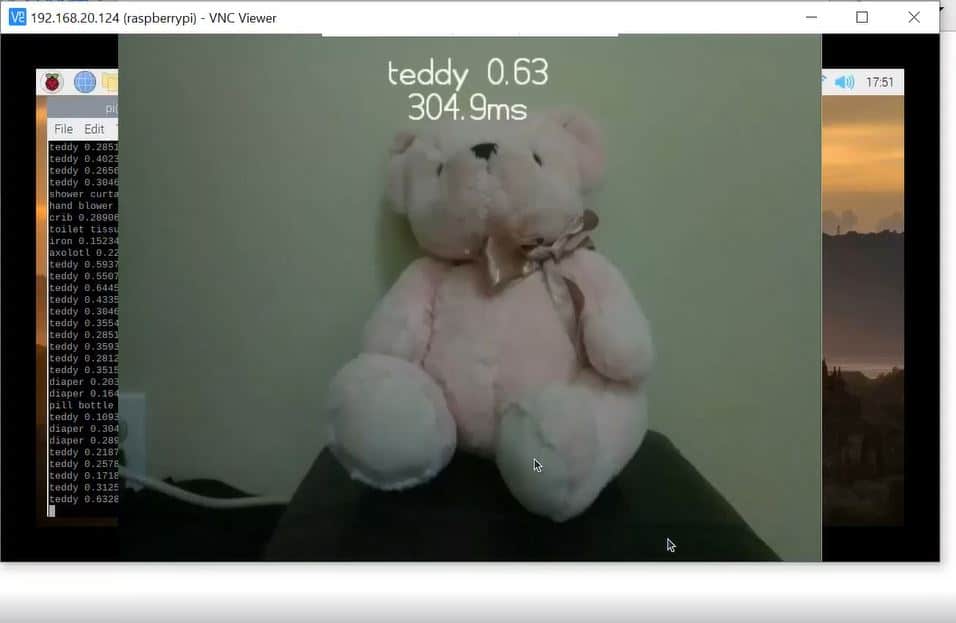
THE HARDWARE
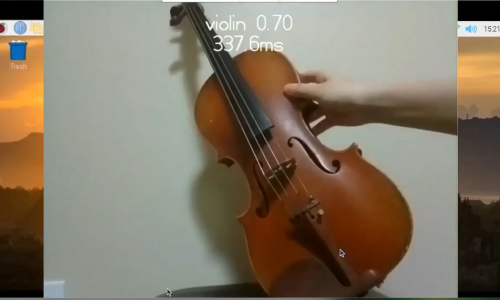
The machine learning model runs on the Raspberry Pi (RPI), a small computer board powered with a power supply and connected to my Wifi network through Ethernet. Its accessories include 2 heat sinks and a camera module connected to the RPI’s port, and it runs on the Raspberry Pi OS.
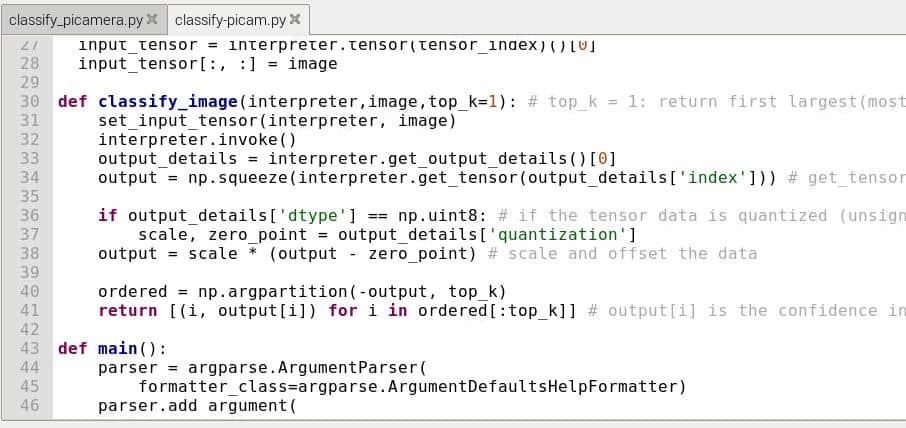
THE CODE
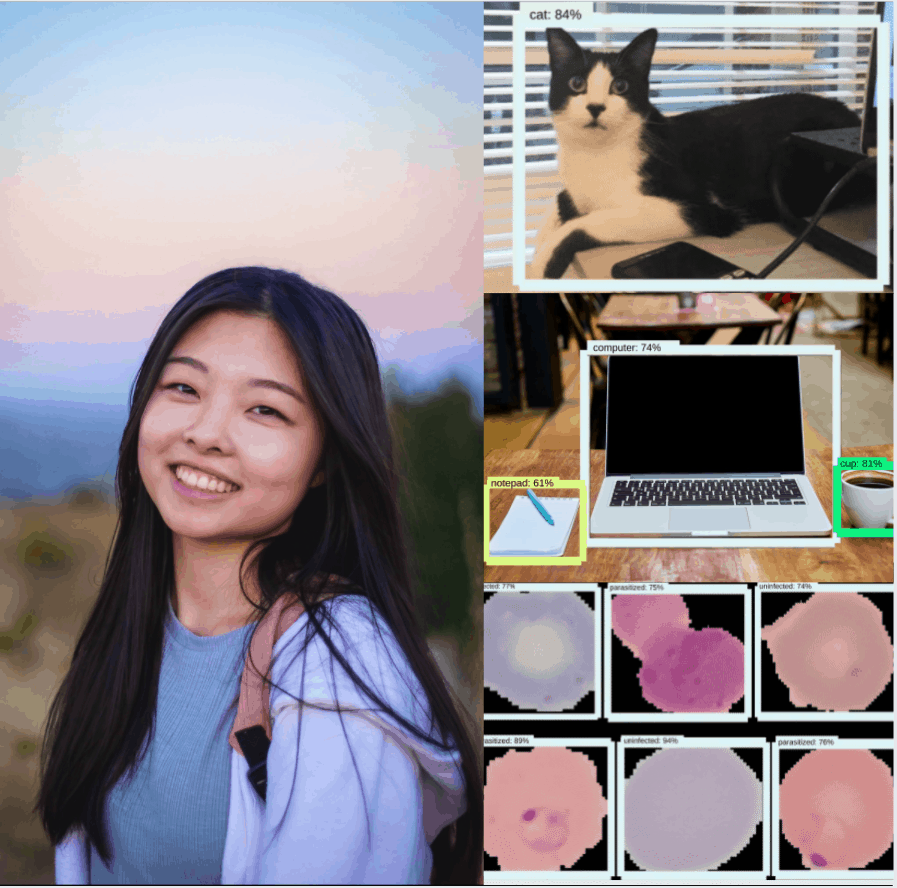
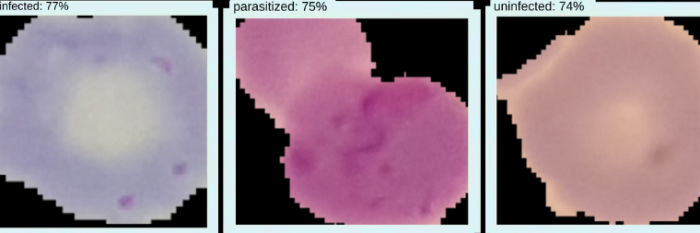
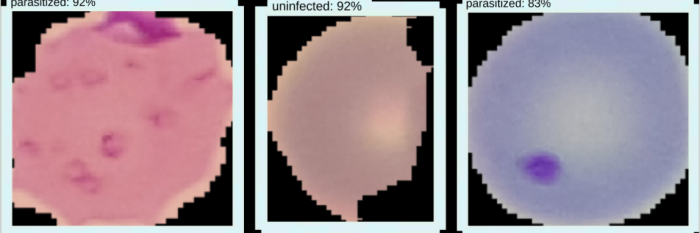
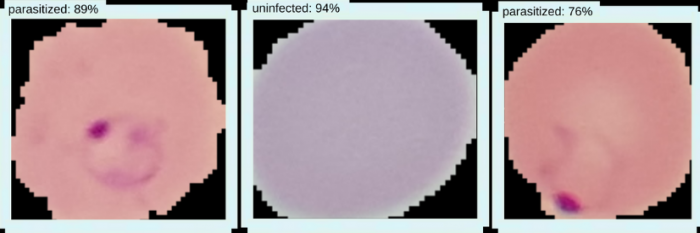
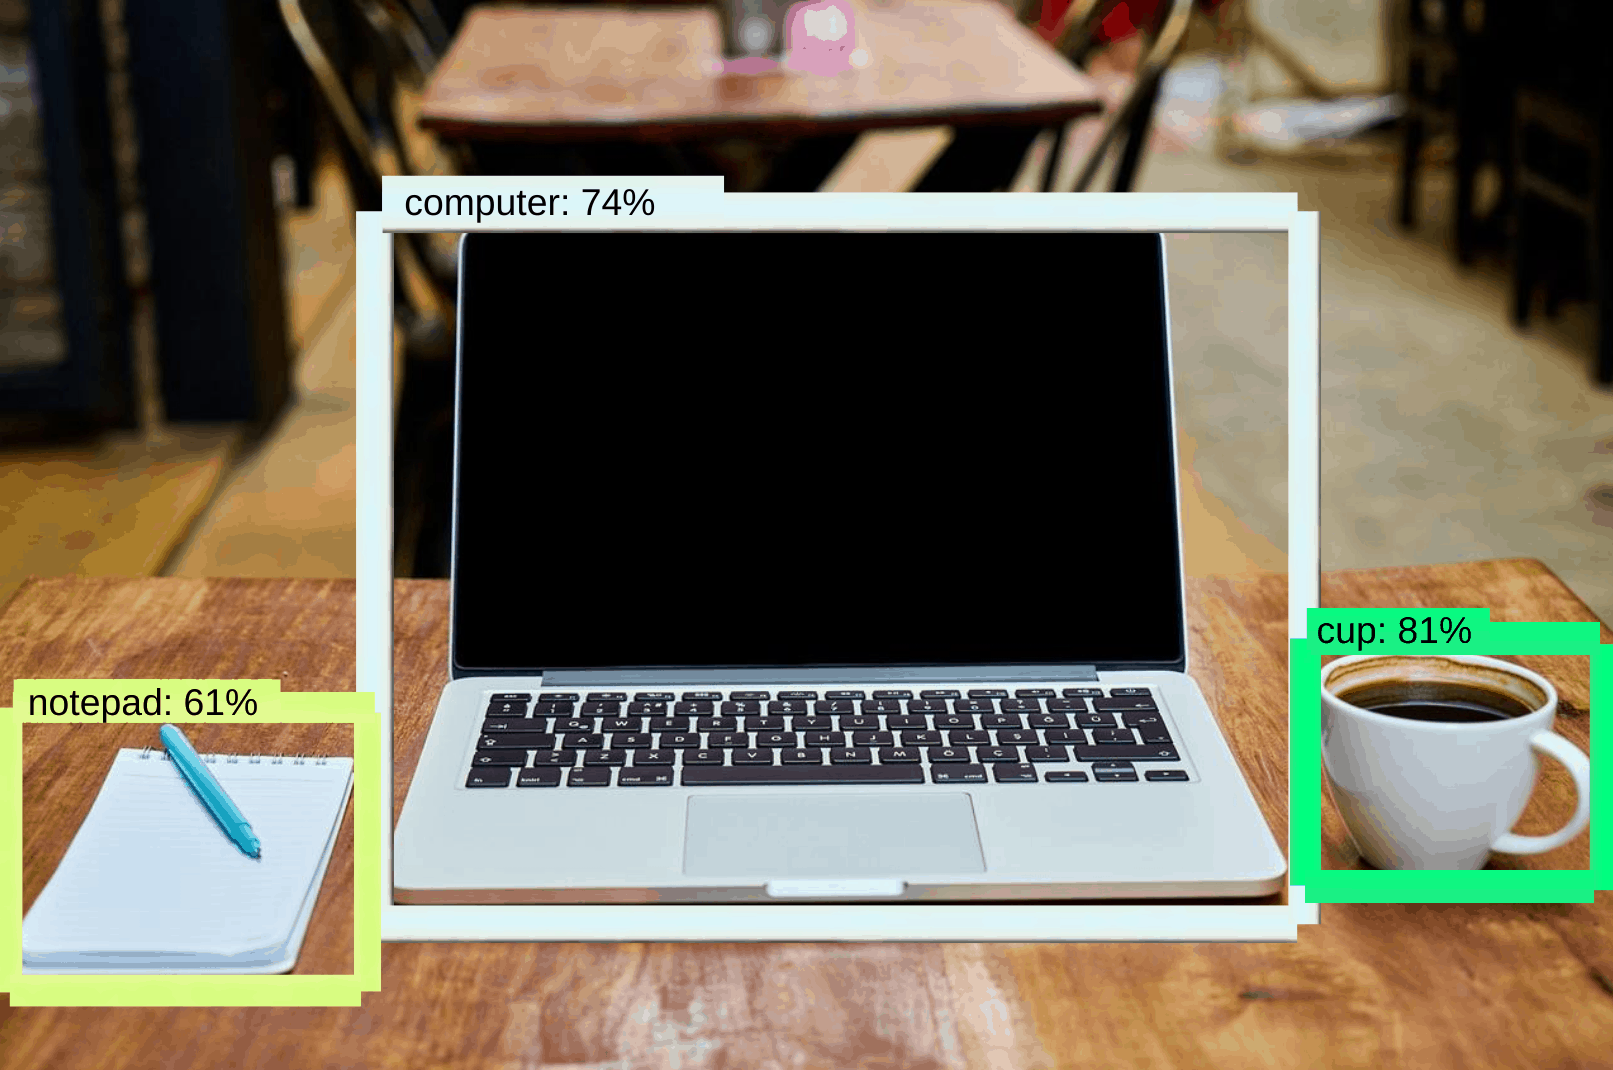
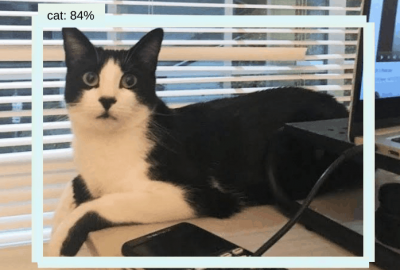
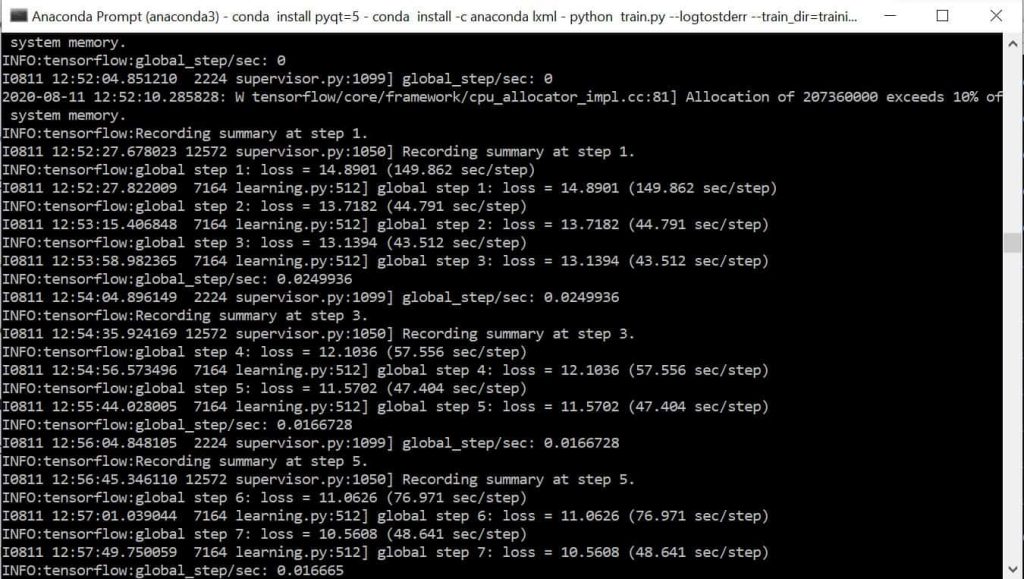
The model uses Convolutional Neural Networks (CNNs) and was trained with Tensorflow, an open source machine learning platform. With Python 3.8.3, I coded classes and functions for each step of the process, such as converting images to .csv file data, initiating and running the training, and using the trained model on my RPI.
LESSONS LEARNED
Through working on my project, I gained valuable experience and familiarity with machine learning and the concept of CNNs as well as Python, OpenCV, computer networking, different types of operating systems, and the Unix command line.